


Rainwater Harvesting Modular Installation
2015-08-11
Step 1: Excavate
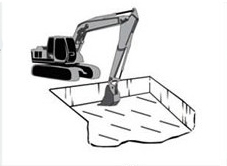
Please make sure that the excavation digging area size should be larger than the size of rain tanks so that it can allow for the rainwater tank dimensions, sufficient back-fill material and compaction equipment required during back fillings.
Step 2: Base Preparation

Base material should be 95% compactable material such as sand or stone, if the project's design incorporates infiltration of water into a sub-soil, base material should be sand or open-graded stone. If no infiltration is required, a more durable road base material can be used. Please make sure the ground is plain enough.
Step 3: Fill Sand

Fill the area with sand to make the surface plain so that the completed rainwater harvesting modules can staged as close to the installation area as possible.
Step 4: Place Geotextile
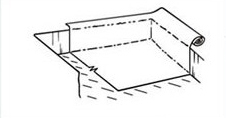
For most applications, the geotextile should be 150g/sqm of non-woven. Lay the geotextile into the excavation, over lapping edges by 300mm or as specified by the engineer. Ensure enough fabric on the ends to wrap over the rain tanks.
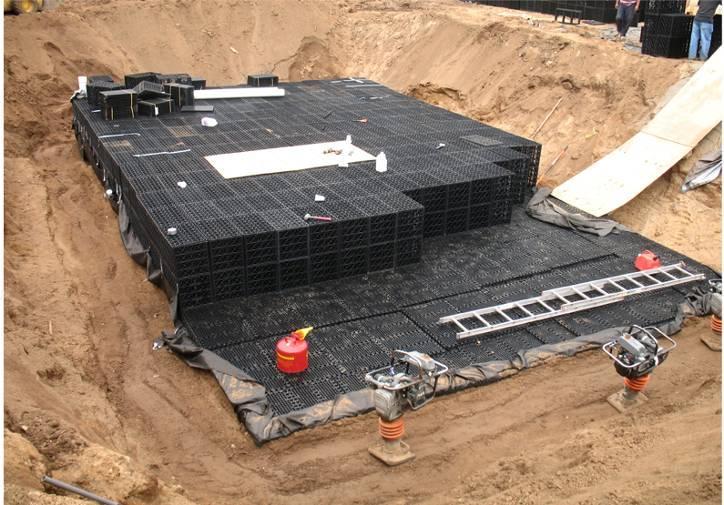
Step 5: Install the Rainwater Harvesting Modular
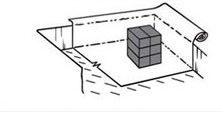
Using a string line, establish two straight lines on one corner of the installations area and then filling all the rainwater harvesting modular.
Step 6: Wrap Tank in Geotextile
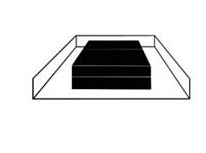
Wrap geotextile place in step 4 over the rain tank units, creating fabric envelope around the rain tanks, completely sealing the system to keep back-fill material out of the system. Make sure the textile covered tightly to the rain tanks;
Step 7: Back Fill the Soil
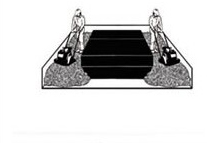
When back-fill reaches the top of the rainwater tank unites, begin covering the structure with back-fill material. Exercise care when placing the first 150mm lift on rain tanks. Using a lightweight powered mechanical roller to spread material.
Using lightweight equipment with tracks to place the next 150mm lift. And then place at least 500mm of material and blade down 300mm, where required, then compact to 95%.
Step 8: Make sure the installation is correct.

PreviousPlastic Paddock Flooring Grid Installation
NextRoof Greening Installation
Message